Upgrading your bathroom with a custom glass shower isn’t just about looks. It’s about creating something functional that works for your space and suits your lifestyle. We’ve helped many homeowners go through the process, and we know it can raise a few questions. Therefore, this post breaks everything down clearly so you’ll know what to expect at every stage of the installation.
Installing custom shower glass is not like swapping out a faucet or adding a shelf. In other words, it’s not a quick DIY project. Every measurement, cut, and attachment must be exact. So, we’ll walk through each step, share tips we’ve learned, and help you feel more confident about the process.
Preparing Your Space for the Installation
Before any glass arrives, we start with preparation. This is the most overlooked part of the process, but it matters a lot. Firstly, we need to take accurate measurements. This is done only after all tile and waterproofing work is fully complete. Otherwise, the glass won’t fit properly, and adjustments could become costly.
Secondly, we examine the walls for plumb and the curb for level. If any surface is out of alignment, we plan around it. That is to say, we don’t force the glass into a space that isn’t ready. We also confirm access to your bathroom, remove potential tripping hazards, and protect nearby flooring. This early attention to detail makes everything smoother later.
Choosing the Right Style and Glass Type
Next, we help you choose the style of door. Some clients know exactly what they want. Others need guidance. We go over the pros and cons of each option. For example, sliding doors save space while hinged doors offer a more open feel. We also ask how the bathroom is used. Do kids use it? Will it be cleaned often? These questions help determine what glass thickness and hardware finish suit you best.
In addition, safety always comes first. That’s why we use tempered safety glass, which shatters into small blunt pieces rather than dangerous shards. You can also choose coatings that resist water stains or opt for textured glass for privacy. If you’re unsure where to start, our custom single shower door page offers examples of what’s possible.
Accurate Measurement and Custom Fabrication
Once the design is finalized, we return for a final measure. Every millimeter counts. We use laser levels and angle finders to ensure perfect accuracy. Meanwhile, the fabrication process begins in the shop. Your custom shower glass is cut, shaped, and polished based on those exact dimensions.
The hardware is also prepped at this point. We make sure hinges, handles, and brackets match your selections and that everything lines up precisely. This process takes time. Therefore, we let you know the timeline upfront. Most custom shower glass takes between 7 and 10 business days to fabricate, depending on the complexity of the design.
The Day of Installation: What Happens First
On the day of the install, we arrive with all tools and components needed. The first step is double-checking everything. That includes layout, level, alignment, and fit. We set the glass in place temporarily to check its position before drilling anything. To clarify, we never rush to mount anything until we’re confident in the fit.
We then carefully drill holes into tile or marble using diamond-tipped bits, minimizing the risk of damage. Anchors are secured into the wall studs where possible. Where studs aren’t available, we use tile-safe anchor systems rated for the weight of the glass. This part requires patience, but it ensures your shower stays firmly in place for years.
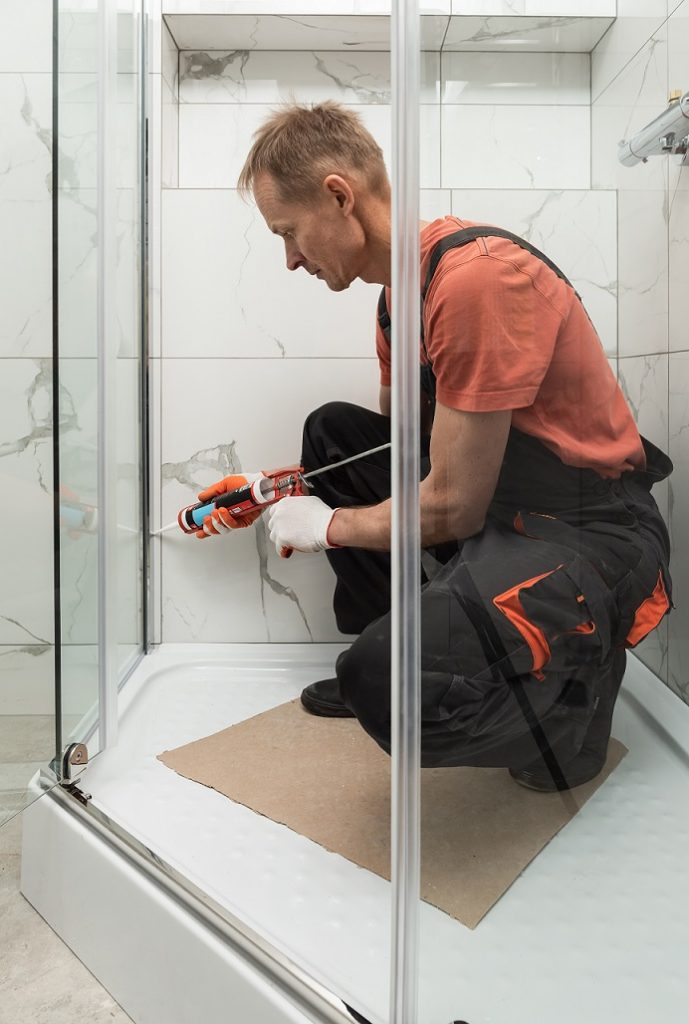
Sealing, Cleaning, and Final Touches
After the panels are mounted, we move on to sealing. We use a clear silicone sealant that’s mildew resistant and designed for bathrooms. This helps prevent leaks and keeps the structure solid. We apply it along joints, seams, and where the glass meets the tile. However, we leave intentional gaps where water needs to drain. Every shower layout is different, so we adjust based on your space.
Once sealed, we clean the glass and hardware thoroughly. Any fingerprints, smudges, or marks from installation are removed. We inspect all hardware to ensure tightness and test the door swing or sliding motion. We explain how to care for your glass and what to expect in the first 24 to 48 hours while the silicone cures.
What You Should (and Shouldn’t) Do After Installation
It’s important not to use the shower for at least 24 hours after installation. The silicone needs time to dry completely. Otherwise, you risk weakening the seal and causing future leaks. During this period, keep the bathroom ventilated to speed up curing. After that, you’re free to use your shower normally.
We recommend using a squeegee daily to reduce water spots and mildew buildup. Likewise, avoid abrasive cleaners that can damage the coating or glass finish. Instead, stick to mild cleaners and soft cloths. If you ever notice loosening hardware or sealant wear, it’s best to get it checked sooner rather than later.
Tips You May Not Hear Elsewhere
Some small details can make a big difference, but they’re often left out of standard advice. For example, always think about how your custom shower door will open relative to the bathroom layout. A door that opens into a toilet or vanity can cause frustration later. Also, check if your bathroom floor slopes slightly. That can affect door swing or water runoff.
Another tip is to plan your lighting before installing the glass. Natural light or ceiling lights can create glare or reflections on certain glass types. Frosted or textured panels help reduce harsh reflections, especially in smaller bathrooms. We share these insights during the design phase, but they’re worth thinking about early.
When to Call in the Experts
Even small miscalculations can lead to leaks or broken panels. So, if anything feels off, don’t try to adjust it yourself. We’re always ready to revisit your home and make it right. Similarly, if you notice water building up outside the shower or seals pulling away, that’s a sign we should take another look.
If you’re unsure whether your space is ready or have questions about layout options, feel free to explore more on our site. Our custom shower doors section covers more detail about design and installation choices. You can also reach us directly through our contact page for answers or a quote.
FAQ
How long does custom shower glass installation take?
Most installations are completed in a few hours, usually between 2 and 4. The entire process, including design, measuring, and fabrication, takes 1 to 2 weeks depending on complexity.
Can the glass be installed before tile work is done?
No. All tile and waterproofing work must be completely finished before measurements are taken or glass is installed. Otherwise, the fit will be incorrect.
Is it possible to install a custom shower door on a tub?
Yes, you can install frameless glass panels or sliding doors on bathtubs. However, the design and mounting systems will differ slightly from full shower stalls.
What type of glass is best for shower doors?
Tempered glass is the safest and most common choice. You can also select frosted, tinted, or patterned glass for added privacy and design flexibility.
Do I need to reseal the shower over time?
Eventually, yes. Sealant can wear down after several years of use, especially in high-moisture areas. If you notice leaks or mildew, resealing may be necessary.