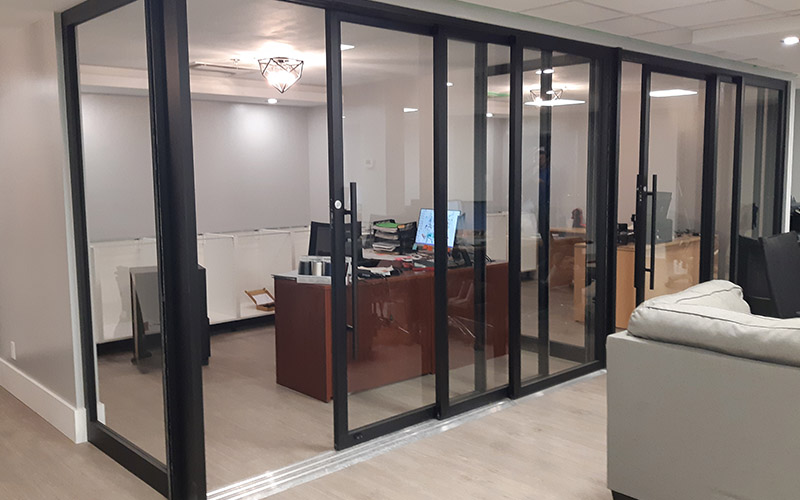
Choosing the Wrong Shower Door Size
When I take on a shower enclosure installation, I know the first and most critical step is measuring accurately. An incorrect measurement throws the whole project off balance. That is to say, even the best shower doors will fail to function correctly if the size is off.
Therefore, I always double-check height and width before choosing a door. A misfit results in leaks, poor sealing, and a door that swings awkwardly or doesn’t close at all. For example, I’ve seen people buy pre-made units that simply don’t fit, causing unnecessary returns and frustrations. To get started with the right dimensions and style, I recommend checking this page on frameless shower door options in Calgary.
Skipping Wall Reinforcement Preparation
Installing a glass enclosure might look straightforward, but wall support plays a crucial role. I’ve come across many showers where the enclosure was mounted directly into drywall, which leads to safety concerns. Consequently, the door might not support its own weight over time.
Above all, it’s about safety and stability. I always ensure that wall studs or anchors are present where the glass hardware will attach. Otherwise, the structure becomes a hazard. In other words, mounting heavy glass without reinforcement risks cracks and detachment. This is something I never compromise on, and it makes every difference in long-term durability.
Ignoring the Slope for Proper Drainage
During installation, I always check the slope of the shower curb. The slope must direct water back into the shower pan. However, many people overlook this detail and end up with puddles leaking onto the bathroom floor. That can result in water damage or mold over time.
In addition, water left standing can cause structural rot or create slippery conditions that lead to injury. So, I make sure the curb tilts slightly inward—just enough to keep water from escaping. Likewise, floor tiles within the enclosure should also guide water flow properly. It’s a small detail, but it has big implications.
Poor Sealant Application Around the Glass
I’ve repaired countless enclosures where improper sealant application caused continuous leaks. Silicone caulking should be clean, consistent, and only applied where necessary. On the other hand, too much sealant makes things look messy and hard to clean later.
Most importantly, gaps between glass panels or at the base need to be sealed with precision. I never apply sealant to hinged areas or sliding tracks, because that restricts movement. To clarify, sealing is about keeping moisture out—while letting the door function freely. For homeowners unsure about where to begin, it’s a good time to book a professional installation consultation for guidance that avoids future repairs.
Rushing the Installation Process
Above all, glass shower installation is not something I ever rush. Even when clients are in a hurry, I explain that proper alignment, tightening, and caulking need adequate time. Meanwhile, skipping steps or ignoring drying times just leads to redo work later.
Subsequently, I allow the sealant to cure for a full 24 hours before use. This ensures a tight, waterproof finish. In the same vein, all hardware must be rechecked after initial installation. Some installers move too fast and overlook minor leveling issues, which later cause glass panels to grind or squeak. I take my time—because doing it right once is better than fixing it twice.
Overlooking Maintenance Tips After Installation
Once the glass is in place, I always walk clients through care and maintenance. For instance, using the wrong cleaning agents can damage seals or scratch the glass. As a result, even high-quality enclosures can start to deteriorate prematurely if not cared for properly.
Further, I recommend daily wipe-downs with a squeegee to prevent water spots. In addition, silicone joints should be inspected every few months for signs of wear. I always point clients to our official website if they want long-term care tips or product compatibility details. A little attention goes a long way toward keeping the enclosure looking new.
Final Thoughts on Avoiding Costly Installation Errors
To sum up, glass shower enclosure installations demand planning, patience, and precision. Rushing, skipping reinforcement, or using poor sealing techniques are all mistakes I’ve seen far too often. That is to say, avoiding these five errors can save time, money, and frustration down the road.
Likewise, I always urge homeowners to ask questions and understand what goes into a successful install. If you’re unsure about doing it yourself, don’t hesitate to Contact Us for expert advice or professional help. Your bathroom deserves the upgrade—but it deserves to be done right the first time.
FAQs
What is the best type of glass for shower enclosures?
I recommend using tempered glass for all shower installations. It’s strong, shatter-resistant, and meets safety regulations. Most importantly, tempered glass breaks into small, less harmful pieces if damaged, making it ideal for bathrooms.
Do I need a professional to install a glass shower enclosure?
While DIY is tempting, I always suggest hiring a professional unless you have experience. A single misstep with measurements, leveling, or sealant can lead to long-term issues. Therefore, professional installation offers peace of mind and lasting performance.
How long does it take to install a glass shower enclosure?
A typical installation takes around 2 to 4 hours, depending on the enclosure type and site conditions. However, this doesn’t include curing time for sealants, which usually needs 24 hours. So, plan on waiting at least a day before using your new shower.
Can I install a frameless glass shower door on any type of wall?
Not always. Frameless doors are heavy and need secure anchoring points. In other words, you’ll need to ensure proper wall studs or use specific anchors for tile or stone. I always assess wall strength before proceeding with installation.
How do I prevent water from leaking outside the glass?
Proper sealing, correct door alignment, and an inward-sloping curb are key. For instance, even a well-installed door will leak if the curb slopes outward. I also ensure all joints are sealed, but not over-caulked, to maintain function and appearance.